How to Fix The Critical Error in WordPress (Step by Step)
If you have a WordPress website, you may encounter a critical error at some point. The critical error in WordPress can be frustrating, but it’s not uncommon. The error can occur due to various reasons, such as theme or plugin conflicts, outdated PHP versions, or corrupted WordPress core files.
If you’re facing a critical error in WordPress, don’t worry. In this guide, we’ll provide you with a step-by-step guide on how to fix the critical error in WordPress easily. Follow these instructions to resolve the error and get your WordPress website up and running smoothly again.
Key Takeaways
- The critical error in WordPress can occur due to theme or plugin conflicts, outdated PHP versions, or corrupted WordPress core files.
- Following the step-by-step guide, you can fix the critical error in WordPress easily.
- Backing up your website regularly can prevent data loss and help you restore your website if you encounter the critical error.
- Enabling WordPress debugging can provide valuable insight into the cause of the critical error.
- Upgrading your PHP version can help prevent future critical errors in WordPress.
Understanding the Critical Error in WordPress
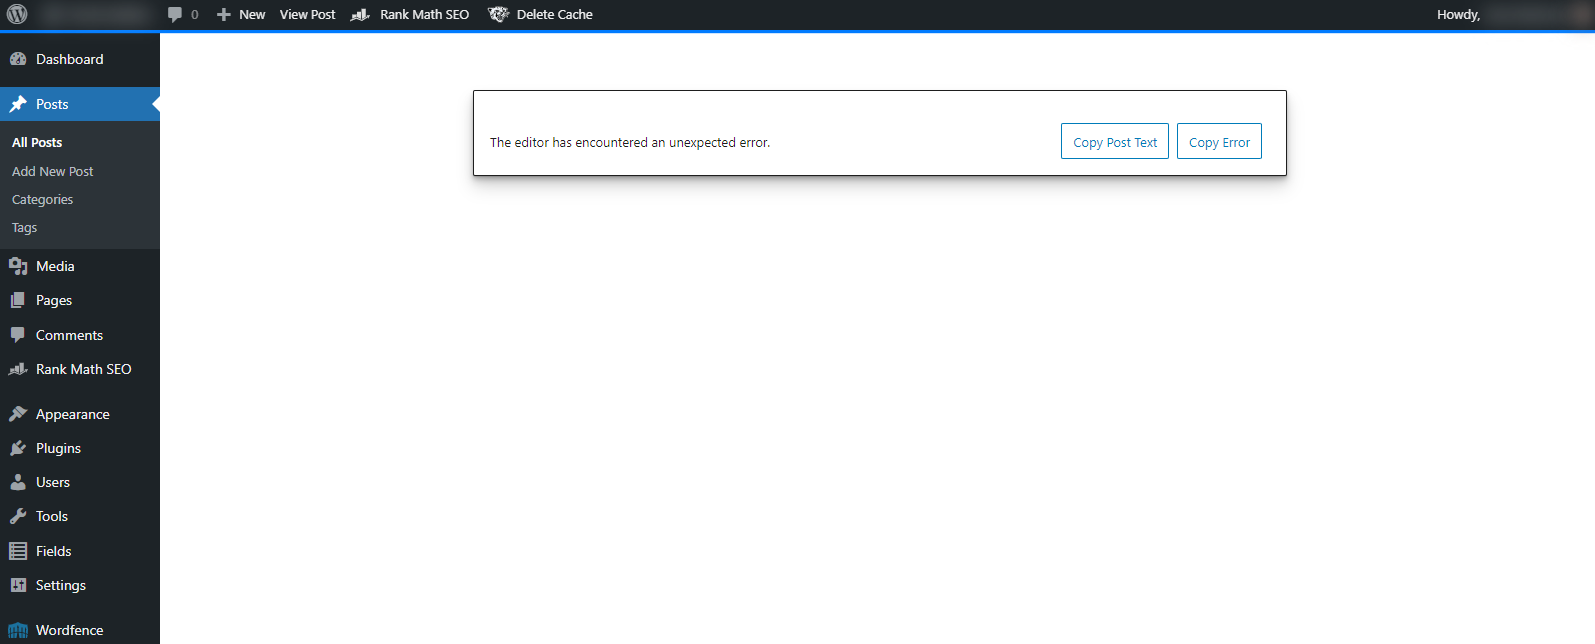
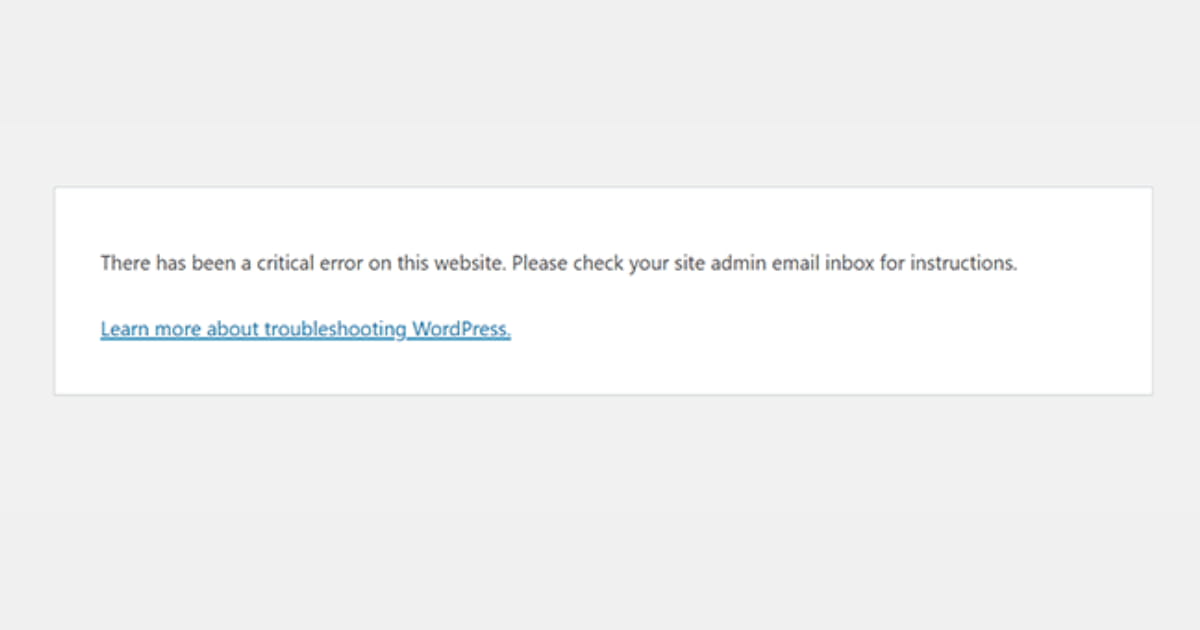
Encountering a critical error in WordPress can be alarming, especially if you’re not sure what it means. Essentially, a critical error is a severe issue that prevents your website from functioning correctly. You might see an error message that includes the words “critical error” and “WordPress error” or a variation of these terms.
The error message may also include details about the source of the problem, such as a particular file or line of code. However, don’t panic if you see this message. It’s possible to fix the critical error in WordPress with some troubleshooting and the right tools.
There are a few possible causes of the critical error in WordPress. It could be due to a conflict between themes or plugins, a problem with your WordPress core files, or an outdated PHP version. In some cases, the error may be caused by a fatal error, which means there’s an issue with the way PHP is processing your code.
Regardless of the specific cause, it’s important to address the critical error as soon as possible to prevent any damage to your website or data loss. In the following sections, we’ll show you how to troubleshoot the critical error and fix the issue to get your WordPress site back to working order.
Checking Error Logs for Theme or Plugin Conflicts
If your WordPress site is experiencing a critical error, it might be due to conflicts between your installed themes or plugins. To identify and resolve these conflicts, it’s important to check the error logs. Follow these steps:
- Log in to your WordPress dashboard.
- Go to the “wp-content” folder.
- Find the “debug.log” file and open it.
- Look for any error messages related to your themes or plugins.
If you find any error messages related to a specific theme or plugin, try deactivating it and see if that resolves the critical error.
If the error persists, try deactivating all of your installed plugins and reactivating them one by one to identify which plugin is causing the issue.
Keep in mind that if you are not familiar with editing error logs, it might be best to seek the assistance of a professional developer.
Identifying and resolving theme or plugin conflicts through error logs is an essential step in fixing the critical error in WordPress.
Restoring Your Site from a Backup
If you have a backup of your WordPress site, restoring it can often fix the critical error that you’re experiencing. Here are the steps to restore your site from a backup:
- Log in to your hosting provider and navigate to the control panel.
- Locate the backup manager or file manager.
- Select the backup file for your WordPress site that was taken before the critical error occurred.
- Click on the restore button to begin the restoration process.
- Wait for the restoration process to complete.
Note that the restoration process can take some time to complete, especially if your WordPress site is large or has many files. Once the restoration process is complete, your WordPress site should be back to the state it was in when the backup was taken, and the critical error should no longer be present.
If you do not have a backup of your WordPress site, you may want to consider creating one regularly in the future to prevent data loss and make it easier to restore your site in case of any critical errors or other issues.
Read also: Hostinger Review 2024: Pros & Cons
Upgrading PHP Version: How to Prevent Critical Errors in WordPress
Outdated PHP versions can cause critical errors in WordPress, which can be frustrating and time-consuming to fix.
To avoid such errors, it’s important to upgrade your PHP version and increase the PHP memory limit. In this section, we’ll guide you through the process of upgrading your PHP version, so you can prevent critical errors and keep your WordPress site running smoothly.
Step 1: Determine Your Current PHP Version
The first step in upgrading your PHP version is to determine which version of PHP your website is currently running on. To do this, you can access the System Information page in your WordPress dashboard:
- Log in to your WordPress Admin area.
- Select “Tools” from the left-hand menu.
- Click on “Site Health”.
- Select the “Info” tab.
- Scroll down to the “Server” section and find the “PHP Version” entry.
Note down your current PHP version so you can reference it later.
Step 2: Check the Compatibility of Your Plugins and Themes
Before upgrading your PHP version, it’s important to check the compatibility of your plugins and themes. Some plugins and themes may not be compatible with newer PHP versions, which can cause critical errors. To check compatibility, you can:
- Visit the websites of the developers of your plugins and themes.
- Check if they have updated the plugins or themes to support the version of PHP you want to upgrade to.
- If there are no updates available, you may need to consider finding alternative plugins or themes that are compatible with the upgraded PHP version.
Step 3: Upgrade Your PHP Version
After checking compatibility, you can upgrade your PHP version by following these steps:
- Log in to your website’s cPanel or hosting control panel.
- Select “PHP Version Manager” from the “Software” or “Programming” section (the name may vary depending on your hosting provider).
- Select the domain for which you want to upgrade PHP version.
- Select the desired PHP version from the drop-down menu.
- Click “Apply”.
- Confirm that your website is still running properly after the PHP version upgrade.
Step 4: Increase the PHP Memory Limit
In addition to upgrading your PHP version, you may also need to increase the PHP memory limit to prevent critical errors. To increase the PHP memory limit, you can:
- Log in to your website’s cPanel or hosting control panel.
- Select “Select PHP Version” from the “Software” or “Programming” section (the terminology may vary depending on your hosting provider).
- Click on “Switch to PHP Options”.
- Find the option “memory_limit”.
- Update the value to the desired limit (e.g. 256M).
- Click “Save”.
Reuploading WordPress Core Files to Fix the Critical Error
If your WordPress core files are missing or corrupted, it can result in a critical error. Fortunately, reuploading the WordPress core files can often fix the issue and get your website up and running again.
First, you need to download a fresh copy of WordPress from the official website. Extract the files to a new folder on your computer and delete the wp-config.php file to avoid overwriting your site’s configuration.
Next, you can use an FTP client to connect to your website and navigate to the root directory. Delete the wp-admin and wp-includes folders, and upload the new copies you just downloaded. Be sure to upload the files in binary mode to ensure they are not corrupted.
Finally, upload all of the files in the root directory, except for the wp-config.php file. Be sure to overwrite any existing files with the new copies.
After you have reuploaded the WordPress core files, try accessing your website again and see if the critical error has been resolved.
Switching to a Default Theme
If the critical error you’re facing is caused by a conflict with the current WordPress theme you’re using, switching to a default theme can help you resolve the issue.
A default theme is one of the WordPress-provided basic themes that come packaged with every WordPress installation.
The advantage of using a default theme is that it’s less likely to cause conflicts with other WordPress plugins or themes.
To switch to a default theme, go to your WordPress admin area and navigate to Appearance > Themes. Here, you’ll see a list of all the themes you have installed on your WordPress site.
Look for a default theme such as Twenty Twenty-One, and activate it by clicking on the Activate button. Once you’ve done this, check your website to see if the critical error has been fixed.
If switching to a default theme resolves the critical error, it means the problem was caused by your previous theme.
You can try contacting the theme developer or look for an updated version of the theme that doesn’t cause conflicts with WordPress.
If you don’t have an update available, you may need to switch to a different theme entirely for your website to function without errors.
Deactivating All WordPress Plugins
If you suspect that the critical error in WordPress is caused by a plugin conflict, the first step is to deactivate all WordPress plugins. This allows you to identify the specific plugin causing the issue.
To deactivate all WordPress plugins at once, log in to your WordPress admin area and navigate to the “Plugins” page. Select all plugins by checking the box next to “Plugin” in the table header, then select “Deactivate” from the “Bulk Actions” drop-down menu. Click “Apply” to deactivate all WordPress plugins.
Once all plugins are deactivated, check if the critical error still appears. If the error is gone, reactivate the plugins one by one to identify the specific plugin causing the issue.
After reactivating each plugin, refresh the page and check if the error reappears. Once you find the problematic plugin, you can either update it or find an alternative replacement plugin.
Remember to always keep your plugins updated to avoid conflicts and prevent critical errors in WordPress.
Reinstalling WordPress to Fix Critical Errors
If you have tried all the options mentioned in the previous sections and still cannot fix the critical error, reinstalling WordPress might be your last resort. Reinstalling WordPress will replace all core files, eliminating any corrupted files that may be causing the error. Here’s how to do it:
- First, make sure to back up your WordPress site to avoid data loss during the reinstallation process. You can use a plugin like UpdraftPlus to easily create a backup.
- Next, log in to your website’s cPanel or use an FTP client to access your website’s files.
- From here, locate the folder where your WordPress installation is located. This is generally in the public_html folder or in a subdirectory.
- Download a copy of your wp-config.php file to your computer. This file contains your website’s database information, and you’ll need it to reconfigure WordPress after the reinstallation.
- Delete all WordPress core files from the directory. Be sure to leave your wp-content folder intact, as this contains your website’s themes, plugins, and media files.
- Download the latest version of WordPress from the official website and extract the files to your computer.
- Upload the extracted WordPress files to your website’s directory, overwriting any existing files.
- Once the upload is complete, configure your WordPress installation using the details from your backed-up wp-config.php file.
- Congratulations! You have successfully reinstalled WordPress. Check your website to ensure the critical error is no longer present.
Reinstalling WordPress can be a time-consuming process, but it’s often necessary to fix critical errors.
Remember to always back up your WordPress site before making any major changes to ensure you can revert to a previous version if needed. With the right precautions and steps, you can resolve critical errors and get your WordPress site back up and running smoothly.
Enabling WordPress Debugging
If you’re encountering the critical error in WordPress and are unsure of the cause, enabling debugging can help shed light on the issue. Debugging mode provides more detailed error messages that can help you identify the root cause of the problem.
Turning on Debugging in the WordPress Admin Area
To turn on debugging, go to your WordPress admin area and select Settings from the dashboard menu. Next, click on Writing and scroll down to the Debugging section.
- Check the box next to Enable debugging.
- Check the box next to Save queries to log every database query made during the request.
- Check the box next to Display errors to show WordPress PHP errors and warnings on the screen.
You can also enable debugging by adding the following line of code to your site’s wp-config.php file:
define( 'WP_DEBUG', true );
After you’ve made these changes, save the file and refresh your website. Debugging mode will now be enabled, and any errors or warnings will be displayed on screen.
Accessing the WordPress Debug Log
In addition to displaying errors on screen, WordPress also logs debugging information to a debug.log file. To access this log:
- Connect to your website’s server using FTP or your hosting provider’s file manager.
- Navigate to the
/wp-content/directory. - If it doesn’t already exist, create a new file named
debug.log. - Open the file and look for any information related to the critical error you’re experiencing.
Enabling debugging and accessing the debug log can provide important insights into the cause of the critical error in WordPress. Use this information to troubleshoot the issue and find a solution.
Upgrading Your PHP Version
If you’ve encountered a fatal error due to an outdated PHP version, it’s crucial to upgrade your PHP version immediately. Upgrading your PHP version not only helps resolve critical errors, but it also improves the security and performance of your WordPress site.
To upgrade your PHP version, follow these steps:
- Log in to your hosting provider’s control panel.
- Navigate to the PHP version menu and select the latest stable version.
- Save the changes and wait for the update to take effect.
After upgrading your PHP version, it’s essential to test your site thoroughly to ensure that everything is functioning correctly. If you encounter any issues, check your error logs and troubleshoot accordingly.
Remember to upgrade your PHP version regularly to prevent future critical errors and ensure optimal site performance. Additionally, regularly monitoring your website for updates and maintaining backups is crucial to prevent data loss and minimize downtime.
Final Thoughts
Congratulations! You now have a better understanding of how to fix the critical error in WordPress. We’ve outlined several solutions that can help you troubleshoot and resolve the error, from checking error logs for theme or plugin conflicts to restoring your site from a backup.
Remember, prevention is key, and upgrading your PHP version and backing up your website regularly can help prevent critical errors from occurring in the future.
Don’t let a critical error hinder your website’s performance and functionality. Take action today and implement the solutions outlined in this guide. Happy WordPressing!
FAQ
What is the critical error in WordPress and how does it manifest?
The critical error in WordPress is an error message that indicates a problem with your WordPress site. It can manifest as a white screen of death or an error message that prevents you from accessing your site.
How can I check error logs for theme or plugin conflicts?
To check error logs for theme or plugin conflicts, follow these steps:
Can restoring my site from a backup fix the critical error?
Yes, if you have a backup of your WordPress site, restoring it can often fix the critical error. Here’s how to restore your site from a backup:
How can I upgrade my PHP version to prevent critical errors?
Upgrading your PHP version can help prevent critical errors in WordPress. Follow these instructions to upgrade your PHP version and increase the PHP memory limit:
What should I do if the critical error is caused by corrupted WordPress core files?
If the critical error is caused by corrupted WordPress core files, you can reupload the WordPress core files to fix the issue. Here’s how to do it:
How can switching to a default theme help resolve the critical error?
Switching to a default theme can help resolve the critical error if it’s caused by a theme conflict. Follow these steps to switch to a default theme temporarily:
Is deactivating all WordPress plugins a solution for the critical error?
Yes, deactivating all WordPress plugins can help identify the plugin causing the critical error. Here’s how to deactivate all plugins:
Can reinstalling WordPress fix the critical error?
Yes, reinstalling WordPress can often fix the critical error. Follow these instructions to reinstall WordPress and eliminate any underlying issues:
How can enabling WordPress debugging help troubleshoot the critical error?
Enabling WordPress debugging can provide valuable insight into the cause of the critical error. Here’s how to turn on debugging and access the error logs for further troubleshooting:
Why is upgrading my PHP version important to avoid fatal errors?
Upgrading your PHP version is important to avoid fatal errors and prevent critical errors in WordPress. Follow these steps to upgrade your PHP version and avoid potential issues: